Replacing Windows
 Replacing windows in the Tampa Bay area has certainly gotten more difficult. Many people who are good with tools and understand construction consider replacing their own windows themselves. If you are one of these brave folks, this is for you.
Sizing When Replacing Windows
If you are replacing windows in the typical Florida home you will either have a block constructed home or a wood framed. Chances are standard size windows were used when the home was first build. Florida standard window sizes have remained consistent for years, so you will have an easy time matching the original size with new windows.
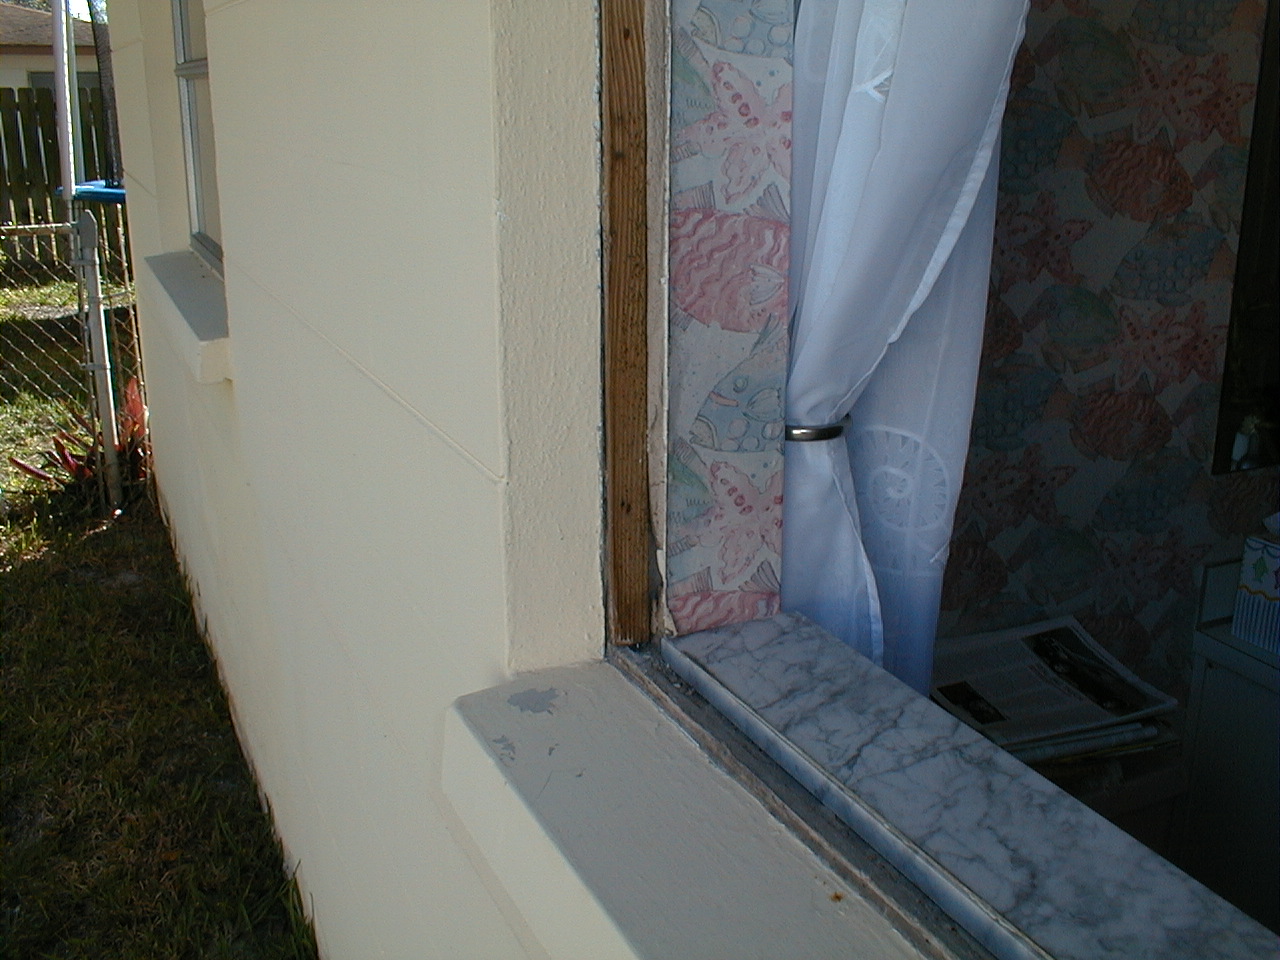
53 1/8” x 50 5/8” is a standard size window here in the Tampa Bay region. If your block home has one and you measure the opening now, from the inside you might get 52 1/4” x 49 1/2″. How did it shrink? The window was probably installed just after your roof went on. Windows and doors are typically the last part of closing the building envelope. Then the sheet rockers came in. They ran sheet rock up against the window frames at the sides and above the window. Then the tile guy came and tiled the sill, or maybe a marble sill was mounted against the bottom of your window frame. Your measurements now are sheet rock to sheet rock on the width, and tile or marble to sheet rock on the height. Of course there are other variations too.
If that window is not sitting on a precast sill with space to both the outside and inside, you may have other issues, if somebody did a heavy stucco job, there will be more, and if your window is flush mounted to the outside wall, there is an entire other set of problems to deal with.
If you are planning to buy a replacement window with the exact same frame width as the one you are taking out, you may be able to get away with buying a standard. If not, you’ll need custom sizing. Never force a window into an opening. That’s how you get a window you can’t open or close.
Replacing Windows Requires a Permit
In most municipalities if you are going to spend more than $500 on windows, you’ll need a building permit to do the work. You’ll need to supply the actual window engineering that shows its test results. The building department wants your windows to meet design pressure requirements, and if you are in an impact zone you’ll have to have an impact rated window or cover the opening with an approved product. Replacing less than 25% of the glass in the entire building in a fiscal year can eliminate the impact requirement, but you will need a complete diagram of the home showing the exact location and size of all the glass to prove your claim. Remember that when you are done you will have a building department official checking your work, the spacing of your fasteners, the size of those fasteners compared to what the manufacturer used when the product was originally tested, and the hurricane protection or your diagramming plan.
Removing the Old Windows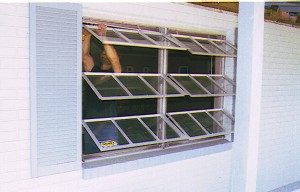

When you take out the old windows you’ll want to protect the opening. Don’t hope to save the old windows for a friend. It’s one of the other- protect the opening or the window. Flush mounted windows probably were nailed in with a nailing fin and then covered with stucco. Those are tough. You may have to use a saw and cut the old frames out. The same holds true with windows buried in stucco. But in a block home where the window frame is centered in the opening you can remove any non-fixed glass and then make strategic cuts in the frame and pry them up collapsing the window. Don’t pry against marble sills or tile, and don’t put any pressure on sills that have even minor cracks.
If you have aluminum framed windows you can get paid a bit to bring them to a recycling center. They want clean aluminum so get rid of all glass, window seals, plastic glazing, and other foreign materials first. If you are taking out old steel or wood windows, you’ll probably have to pay to dump them.
Installing Replacement Windows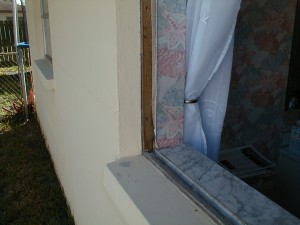
You are going to be putting a slightly pliable object that must remain perfectly square into an opening that probably is not. Don’t force anything. Make sure screws or tapcons go exactly as the manufacturer’s engineering dictates. Remember, the building department official will be checking up on you. You will likely need some shims where there are gaps between your window frame and the opening. Never screw through the frame with a space between the frame and the wall. It will pull the window out of square and mess up operation. Place a shim there first. And, get a composite shim rather than wood. If you tighten down on a wood shim and it deteriorates over time, moisture and insects are its enemies, your window could pull out of square months or years after you complete your window replacement project.
If you have gaps on the outside, don’t just install some trim and caulk it in place. Fill the void with a high grade foam, not the kind that will cure adding pressure to the frame, but fill the void and provide something to back the trim you use. Missing this step could lead to water leaking in under your window and finding a home in your walls where it will grow all kinds of mold. 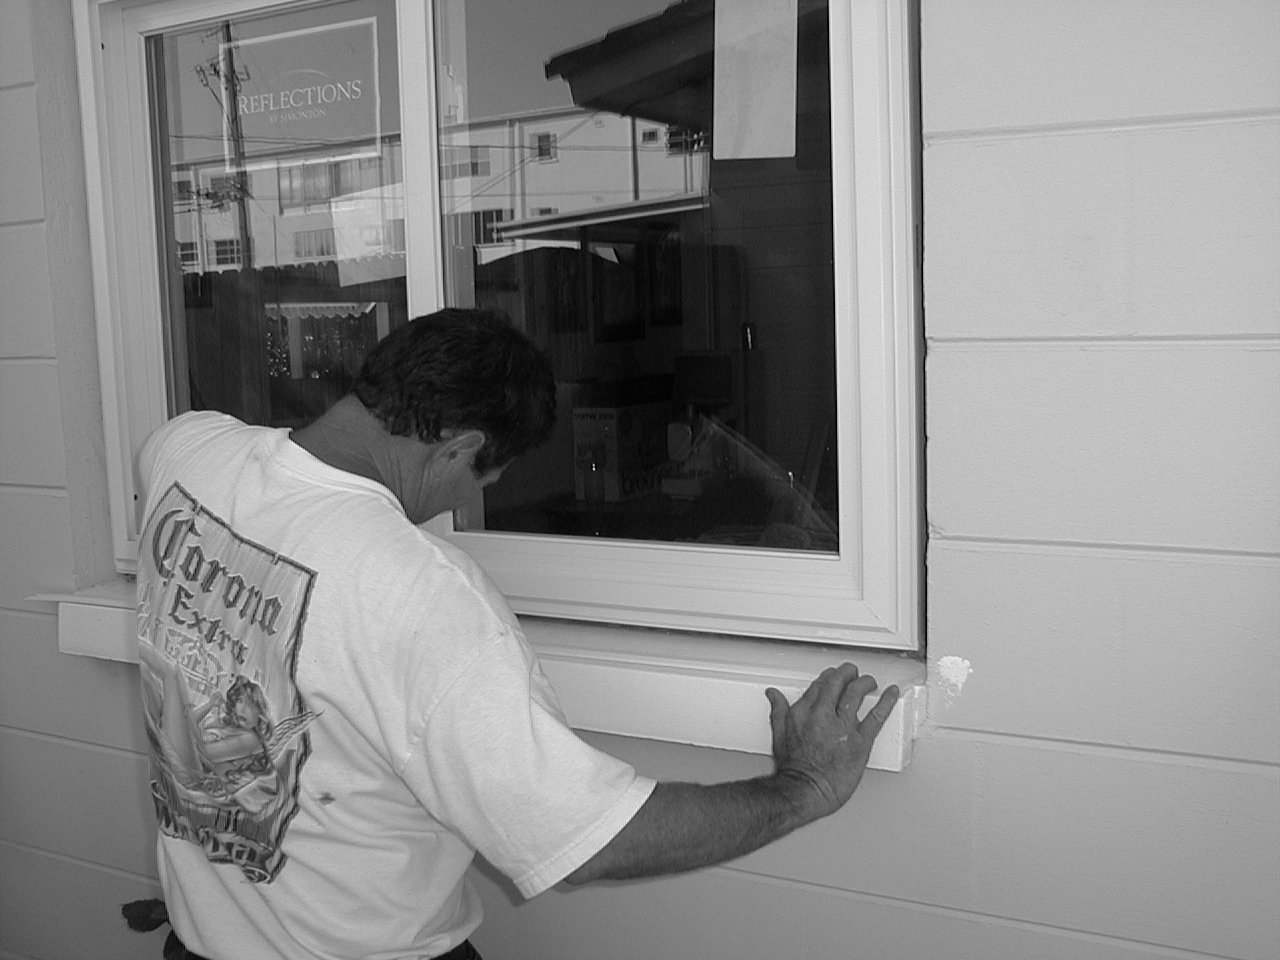
Never scrimp on caulk. Get a product that will last and expand and contract well in our climate. Make sure it’s paintable too. And, choose one with a low VOC, one that will not give off all kinds of fumes, making the first few days inside after your window replacement be unbearable.
There is a Lot to Replacing Windows
That is exactly why only the experienced window installer should consider the job. Get it professionally done by someone you can trust who will also stand behind their work. That’s the safest way of replacing windows!